
Engineering Guide · Classroom Audio
Quick Answer
A classroom audio system has three layers: a UHF wireless microphone for the teacher, an amplification stage (powered speakers, or an amplifier driving passive speakers), and the correct wiring to the interactive flat panel — whose audio output is typically line-level and should not drive passive speakers directly. The right configuration is decided by room type and teaching style, not by speaker wattage.
This guide is written for system integrators and project companies who design and deliver classroom AV — not for end users buying a single speaker. It covers the components, the one wiring rule that breaks most installations, active versus passive speakers, microphone selection, room sizing, and the audio specifications you can write directly into a tender.
Why Are Audio Problems So Common in Classroom AV Projects?
Audio is often the most overlooked part of a classroom AV project — the display gets the attention in the tender, while the audio design gets a line item. Yet the failure patterns that generate support tickets are remarkably consistent across countries and budgets: a panel wired straight into passive speakers that produces little sound at handover; a hybrid classroom where remote students hear an echo of their own audio; a lecture hall where the back rows struggle to hear even though the speakers seem “powerful enough”; a wireless microphone that drops out when forty student devices join the Wi-Fi.
None of these are equipment failures. They are design failures — a signal-level mismatch, a missing echo-cancellation path, coverage planned by wattage instead of by listening position, or a microphone on the wrong frequency band. Audio is the layer of a complete smart classroom solution where a wiring diagram matters more than a spec sheet, which is why this guide focuses on the design decisions rather than the product catalogue.
What Are the Components of a Classroom Audio System?
Five component types cover almost every classroom, training room, and lecture hall. Understanding what each one does — and what signal it produces or expects — is the foundation for every decision in this guide.
Wireless microphone
A wireless microphone captures the teacher’s voice and transmits it to a receiver, freeing the teacher to move around the room. In classrooms the standard is a UHF system (handheld or lavalier), because UHF operates well away from the 2.4 GHz band that classroom Wi-Fi and dozens of student devices already congest.
Powered (active) speakers
A powered speaker has its amplifier built in. It accepts a low-voltage line-level signal — for example from an interactive flat panel’s audio output — and amplifies it internally. Powered wall speakers are the default choice for single classrooms: two boxes, one cable each, no external amplifier to install or fail.
Amplifier + passive speakers
A passive speaker has no built-in amplifier; it must be driven by an external power amplifier over speaker cable. This split architecture makes sense in large or zoned spaces — lecture halls, multi-area training centres — where one amplifier drives several distributed speakers.
Audio hub / DSP
An audio hub (digital signal processor) sits between sources and outputs. It mixes the microphone with the panel’s programme audio, manages levels, and provides the clean routing needed when a room has several audio sources — panel, microphone, document camera, video call. Small classrooms can live without one; hybrid and multi-source rooms should not.
The interactive flat panel as an audio source
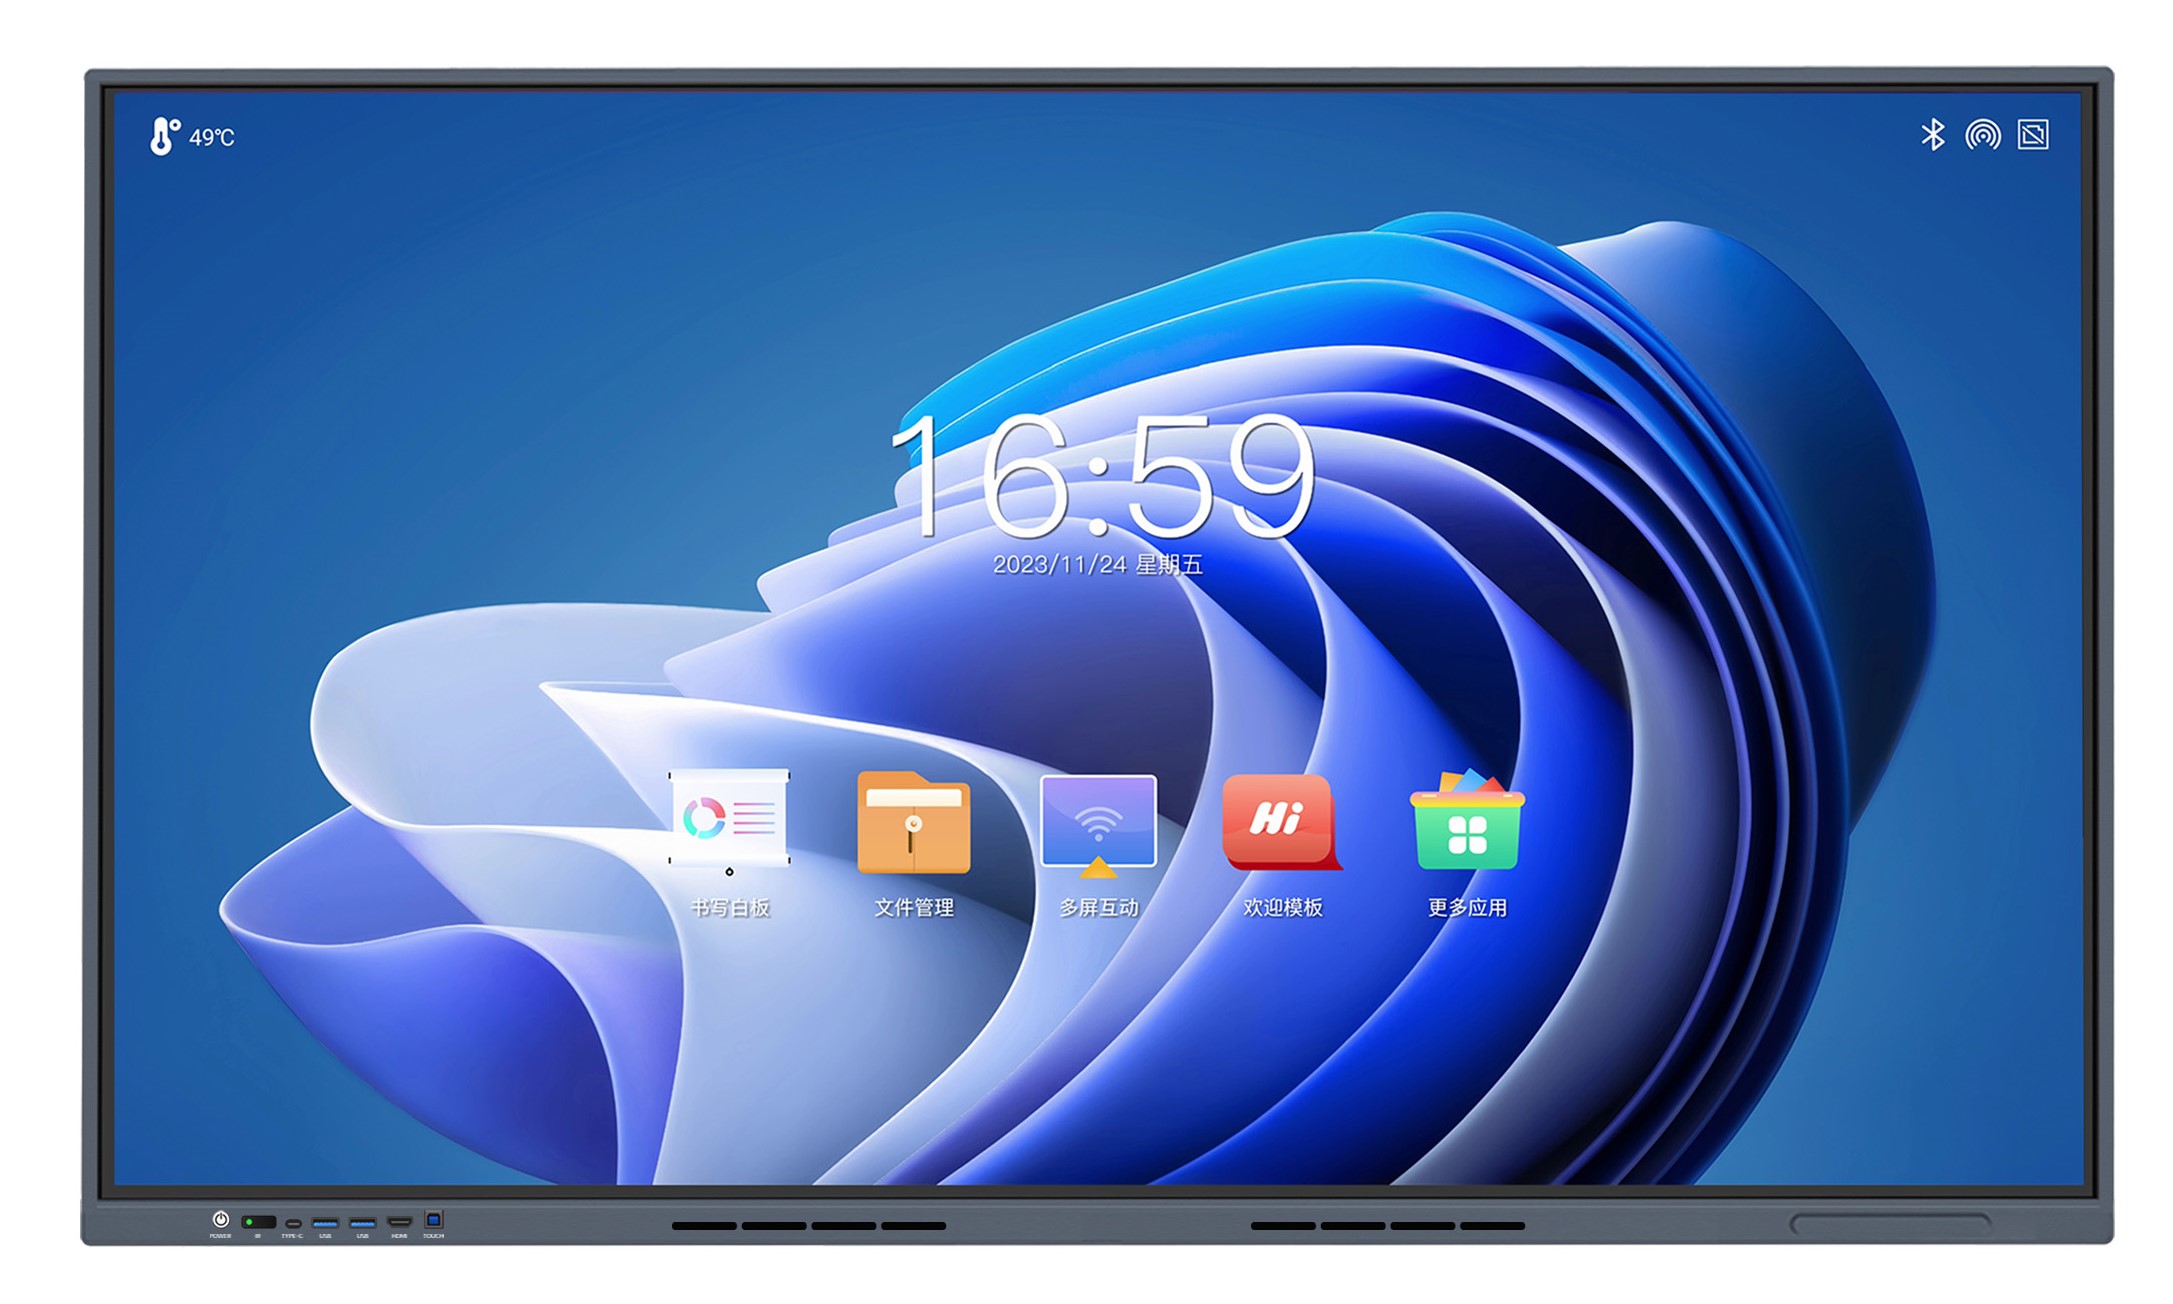
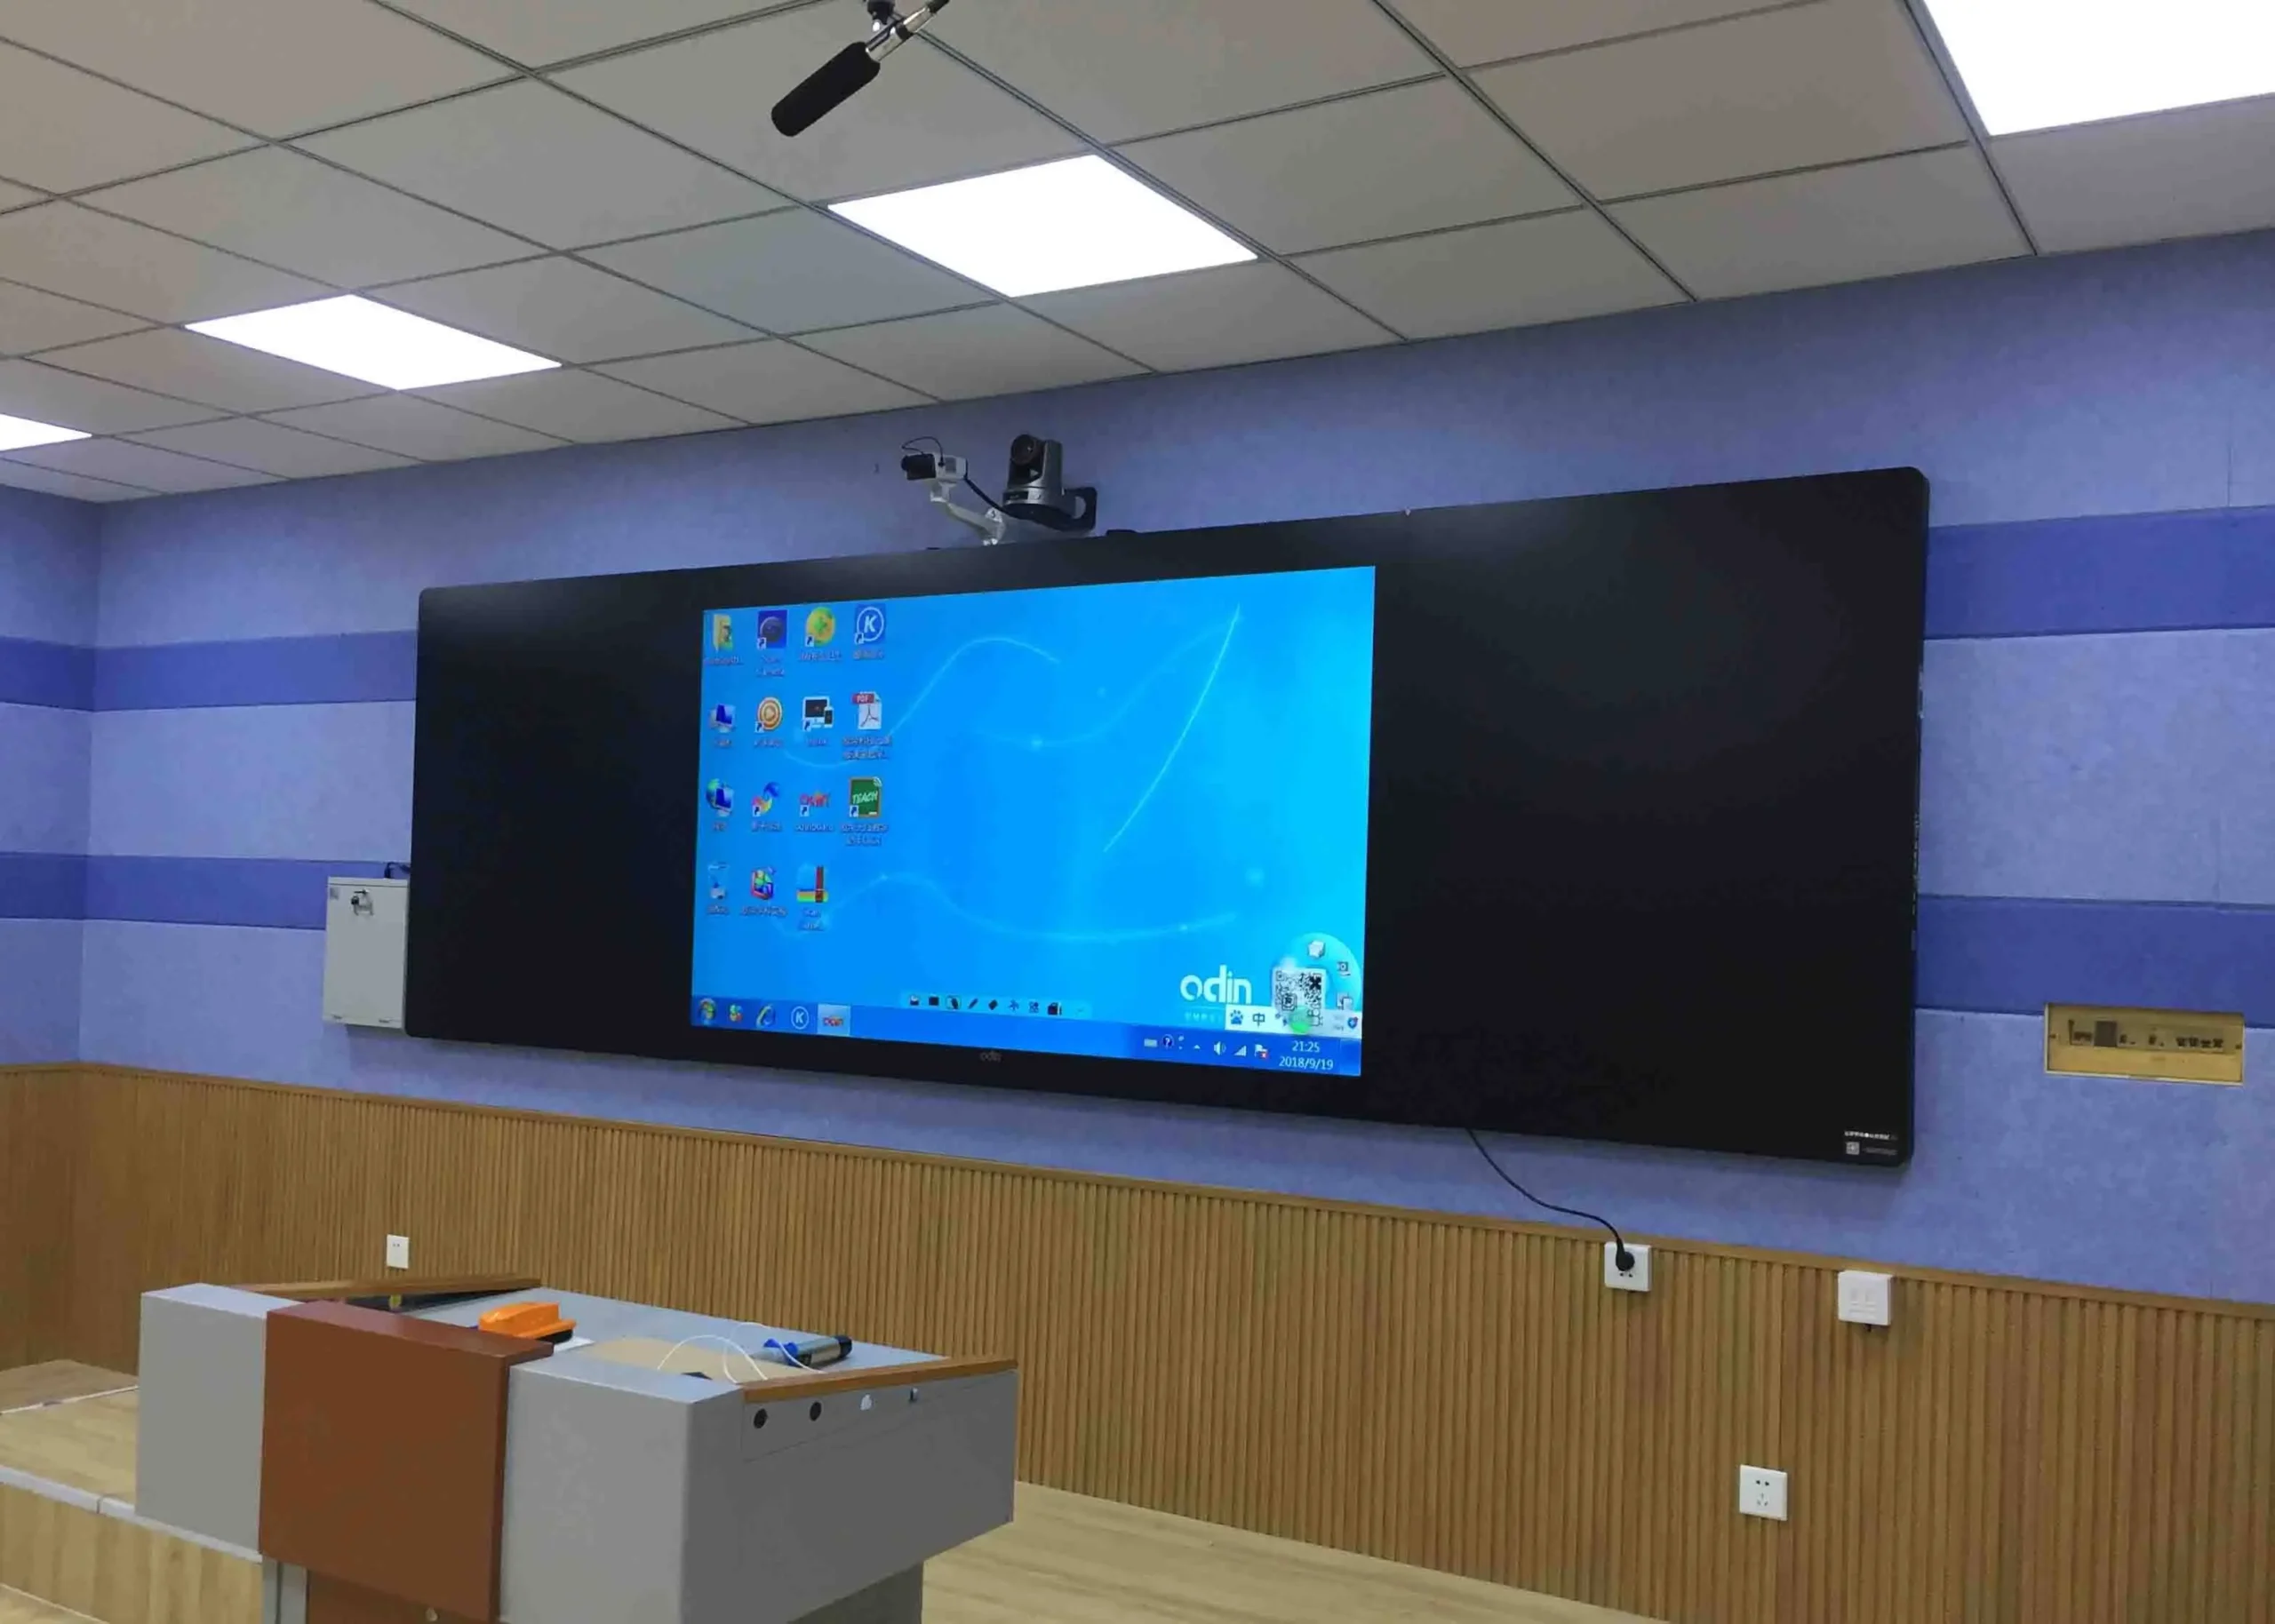
The interactive flat panel (IFP) is the audio source in most smart classrooms: teaching software, videos, and video-call audio all originate there. Its built-in speakers are adequate for background sound directly in front of the panel, but for a full room the panel hands audio off through an external output — typically line-level (3.5 mm and/or optical), with HDMI ARC on some models — which brings us to the design rule that decides whether an installation works at all.
Line-Level vs Speaker-Level: The Rule That Breaks Most Installs
Line-level is a low-voltage signal (roughly 0.3–2 V) intended to carry audio between devices — from a panel to an amplifier, or from a mixer to a powered speaker. Speaker-level is the high-power output of an amplifier (tens of volts), intended to physically drive a speaker cone. They travel on different cables, at different voltages, for different jobs — and they are not interchangeable.
The rule: in most installations, the line-level audio output of an interactive flat panel should feed a powered (active) speaker or an external amplifier — not passive speakers directly. Output options vary by brand (line out, S/PDIF optical, HDMI ARC), but the principle holds across them: a line-level or consumer digital output carries a signal, not the power to drive a speaker cone.
Engineering Tip
Wiring an IFP’s line output straight into passive speakers is the single most common mistake we see in field installations. The result at handover is near-silence — a line-level signal has nowhere near the power to move a passive speaker cone. The reverse mistake (connecting an amplifier’s speaker-level output into a line-level input) is worse: it can permanently damage the input stage. If a “no sound” ticket comes in on day one, check this first.
Specification Example (for your tender)
“The interactive display shall provide line-level audio output (3.5 mm stereo and/or S/PDIF optical). Room amplification shall be provided by active loudspeakers or a dedicated power amplifier; passive loudspeakers shall not be connected directly to the display output.”
Active vs Passive Speakers: Which Should You Spec?
Both architectures amplify the same line-level signal; they differ in where the amplifier lives. Active speakers integrate it (simpler install, fewer failure points, one power outlet per speaker). Passive systems centralise it (one amplifier drives many speakers over speaker cable — better for large or zoned rooms, and easier to service because the electronics sit in one rack).
Recommendation: for most standard classrooms, two powered wall speakers provide the simplest and most cost-effective solution. Amplifier + passive speakers generally makes sense when the room is large (lecture hall, hall-style training room), when one system must cover multiple zones — or when the campus has standardised on centralised amplification across all rooms, in which case following the site standard is the right engineering call even for small rooms.
Decision tree — choosing the speaker architecture for a room
Engineering Tip
Don’t mix the two architectures in one small room to “add power”. Two correctly placed powered speakers at seated ear height beat four badly placed boxes of any kind. Placement and coverage decide intelligibility; wattage does not.
Specification Example
“Each classroom shall be equipped with 2 × active wall-mounted loudspeakers (built-in amplification, line-level input), wall-mounted at 2.0–2.5 m height and angled toward the seating area, providing even coverage at all student positions.”
Choosing Microphones: UHF Wireless and Hybrid Classrooms
Teacher voice lift is what makes classroom audio different from meeting-room audio: the priority is that forty students hear one moving teacher clearly, all day, without dropouts. In environments with many Wi-Fi devices — which is exactly what a smart classroom is — professional UHF wireless microphone systems often provide more predictable performance than consumer-grade 2.4 GHz systems, because the UHF band sits away from the traffic that tablets and access points generate.
Recommendation: for most classroom deployments, spec a UHF system (handheld or lavalier to the teacher’s preference). For hybrid classrooms — where remote students join by video call — add a dedicated conference speakerphone with a built-in mic array and echo cancellation to handle the call audio.
Engineering Tip — the two-path rule that prevents echo
In a hybrid classroom, design two separate audio paths. Path one is in-room voice lift: UHF microphone → speakers, so students in the room hear the teacher. Path two is call audio: the conference speakerphone’s mic array (with acoustic echo cancellation and full-duplex audio) carries the room to remote students and plays their voices back. If you feed the voice-lift path into the call instead, remote students hear an echo loop of themselves — the most common hybrid-classroom complaint, and purely a design error.
Specification Example
“The teacher microphone system shall operate in the UHF band with selectable channels to avoid inter-classroom interference. For hybrid teaching, the room shall include a conference speakerphone with a built-in multi-microphone array, acoustic echo cancellation (AEC), and full-duplex audio.”
How to Size Classroom Audio by Room and Teaching Style
Floor area alone is a poor sizing input — a 60 m² room used for lecturing and the same room used for video-heavy hybrid training need different systems. Size by room, headcount, and teaching style together:
| Room type | Typical users | Teaching style | Suggested audio configuration |
|---|---|---|---|
| Primary / secondary classroom | Up to ~40 | Lecture + interactive whiteboard | UHF wireless mic + 2 × powered wall speakers, fed from the IFP line output |
| Hybrid classroom | Up to ~40 in room + remote | Simultaneous in-room and video-call teaching | Above + conference speakerphone (mic array, AEC) on the call path |
| Training room / computer lab | 40–60 | Mixed sources: presenter, video calls, playback | UHF mic + powered speakers + audio hub to mix and route sources |
| Lecture hall / auditorium | 100+ | One-to-many, voice lift is critical | UHF mic + power amplifier + zoned passive speakers distributed along the hall |
Engineering Tip
The test that matters is intelligibility at the worst seat, not loudness at the front. In halls, distribute several moderate speakers along the depth of the room instead of two loud ones at the front — level stays even, and the front rows aren’t blasted so the back rows can hear.
Classroom Audio Signal Flow (Wiring Diagram)
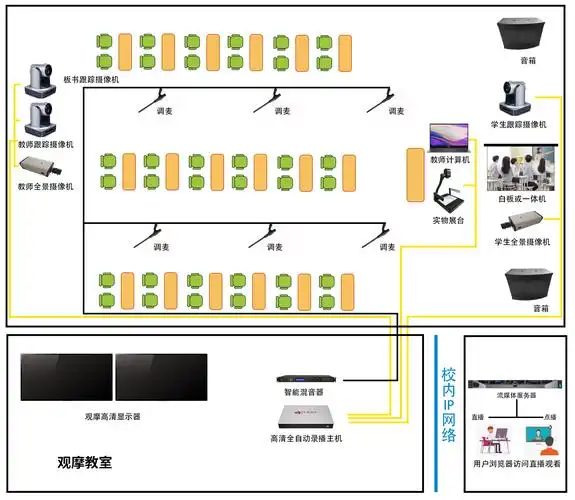
Two signal chains cover the room types above. Chain A is the standard classroom and training room; Chain B is the large-hall architecture. Every Tralltech solution ships with a project-specific version of these diagrams — see the full system topology on the smart classroom solution page.
Signal flow — the two standard classroom audio chains
Chain A · Classroom / training room
Chain B · Lecture hall
Note what both chains have in common: the panel’s output is always line-level, and amplification always happens downstream of it — inside the powered speaker in Chain A, in the rack amplifier in Chain B. In a hybrid classroom, the conference speakerphone runs as a separate call-audio path alongside Chain A, exactly as described in the two-path rule above.
Common Mistakes When Designing Classroom Audio
Connecting passive speakers directly to the interactive flat panel
Most panels output line-level only — passive speakers need speaker-level power, so the room gets near-silence.
Place a powered speaker or an amplifier between the panel and any passive speaker.
Using consumer Bluetooth speakers
Bluetooth adds audible latency (lip-sync drift on videos), drops pairing when the panel restarts, auto-sleeps mid-lesson, and can’t be wired into a managed system.
Spec wired powered speakers on the line-level output — boring, and correct.
Choosing speakers by watts alone
Wattage says nothing about coverage. Two badly placed 60 W boxes are worse than two well-placed 20 W boxes at ear height.
Design for even coverage at every seat: placement, height, and angle first; power second.
Putting the teacher’s microphone on 2.4 GHz
2.4 GHz is the same band as classroom Wi-Fi and dozens of student devices — dropouts are a matter of when, not if.
Use a UHF system, and plan channels so adjacent classrooms don’t interfere with each other.
Ignoring the echo path in hybrid classrooms
If the voice-lift audio feeds back into the call microphone, remote participants hear themselves on a delay.
Keep two separate paths: UHF mic + speakers for the room, speakerphone with echo cancellation for the call.
Audio Specifications to Write Into Your Tender
If you are drafting the technical requirements for a school or government tender, these clauses cover the failure modes above. All values below are examples only — adapt quantities, mounting heights, and frequency requirements to your project, your region’s spectrum regulations, and the products you specify. The structure of the clauses, not the numbers, is what keeps weak bids out.
- Signal architecture: “Display audio output shall be line-level (3.5 mm and/or optical); room amplification shall be via active loudspeakers or a dedicated amplifier.”
- Speakers: “2 × active wall-mounted loudspeakers per classroom, installed at 2.0–2.5 m and angled to provide even coverage at all seating positions.”
- Microphone: “UHF wireless microphone system with selectable channels for multi-classroom deployments; handheld and lavalier options.”
- Hybrid audio: “Conference speakerphone with multi-microphone array, acoustic echo cancellation (AEC), and full-duplex audio for remote participants.”
- Large rooms: “For rooms above [X] seats, a power amplifier with distributed passive loudspeakers in zones, designed for intelligibility at the furthest seating position.”
- Documentation: “The supplier shall provide a system wiring diagram and bill of materials for each room type.”
That last clause matters more than it looks: requiring a wiring diagram in the tender quietly filters out box-shifters who quote a screen and a pair of speakers with no design behind them.
Frequently Asked Questions
Can I connect powered speakers directly to an interactive flat panel?
Yes — this is the recommended connection for most classrooms. A powered (active) speaker has its own built-in amplifier and is designed to accept exactly the line-level signal the panel outputs. Connect the panel’s 3.5 mm or optical output to the powered speaker’s input, and the speaker handles amplification internally.
Can I connect passive speakers directly to an interactive flat panel?
No. An interactive flat panel outputs a line-level signal, which cannot drive passive speakers — you’ll get little or no sound. Connect the panel to powered (active) speakers, or to a power amplifier that then drives the passive speakers.
Can Bluetooth speakers be used in classrooms?
They work, but they are the wrong tool for a managed classroom: Bluetooth adds latency that breaks lip-sync on videos, pairing drops when the panel restarts, consumer units auto-sleep during quiet lessons, and they can’t be integrated into a wired, centrally managed system. For anything beyond a temporary setup, use wired powered speakers on the panel’s line-level output.
How many speakers does a classroom need?
A standard classroom of up to about 40 students needs two well-placed powered wall speakers at seated ear height. Larger training rooms may add speakers or an audio hub; lecture halls move to an amplifier with passive speakers distributed in zones. More speakers is not better — even coverage is.
UHF vs 2.4 GHz wireless microphone — which is better for classrooms?
UHF. The 2.4 GHz band is shared with Wi-Fi and every student device in the room, so 2.4 GHz microphones suffer dropouts in exactly the environment a smart classroom creates. UHF systems operate away from that congestion and support channel planning across many classrooms.
Do I need a separate microphone for hybrid classes?
Yes — a separate call-audio device, not just another mic. The teacher’s UHF microphone handles in-room voice lift; a conference speakerphone with a built-in mic array and echo cancellation handles the video-call path. Keeping the two paths separate is what prevents echo for remote students.
What causes echo in a hybrid classroom and how do I prevent it?
Echo happens when the sound of remote participants, played through the room speakers, is picked up again by the call microphone and sent back to them. Prevent it by design: run the call audio exclusively through a speakerphone with acoustic echo cancellation, and never route the room’s voice-lift path into the call.
Key Takeaways
- An IFP’s audio output is typically line-level — amplify downstream (powered speakers or an amplifier) rather than wiring passive speakers directly.
- Most single classrooms → powered wall speakers; lecture halls, multi-zone rooms, or campuses standardised on central amplification → amplifier + passive speakers.
- In Wi-Fi-dense classrooms, professional UHF microphones generally outperform consumer 2.4 GHz systems; hybrid rooms need a second, echo-cancelled call-audio path.
- Size by room, headcount, and teaching style together — and design for the worst seat, not the loudest speaker.
Need help selecting classroom audio equipment?
Contact our engineering team for room-specific audio recommendations, a wiring diagram, and a project-ready bill of materials based on your classroom types and project requirements.
Related reading & equipment
Solution
Smart Classroom Solution for System Integrators
Equipment · T-AUD
Active Wall Speaker
Equipment · T-AUD
UHF Wireless Microphone System
Equipment · T-AUD
Conference Speaker with Mic Array
Last reviewed: July 2026 · Tralltech Technical Team