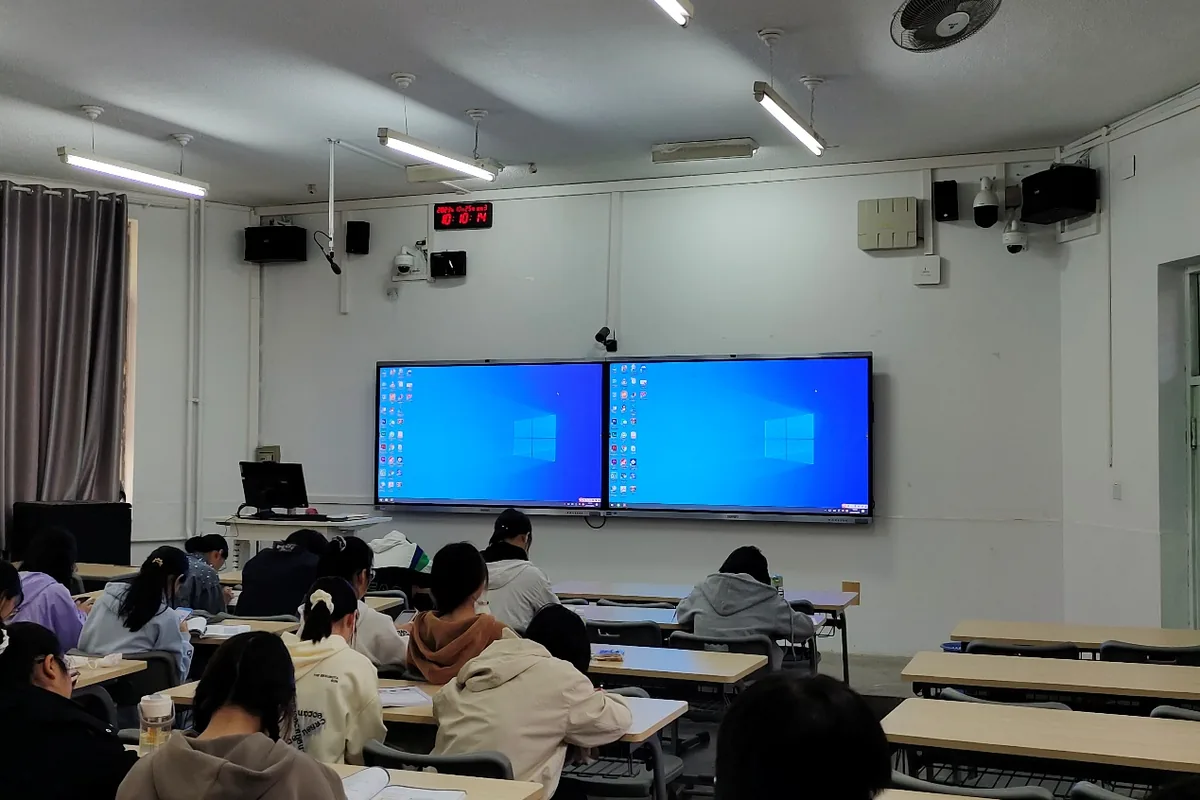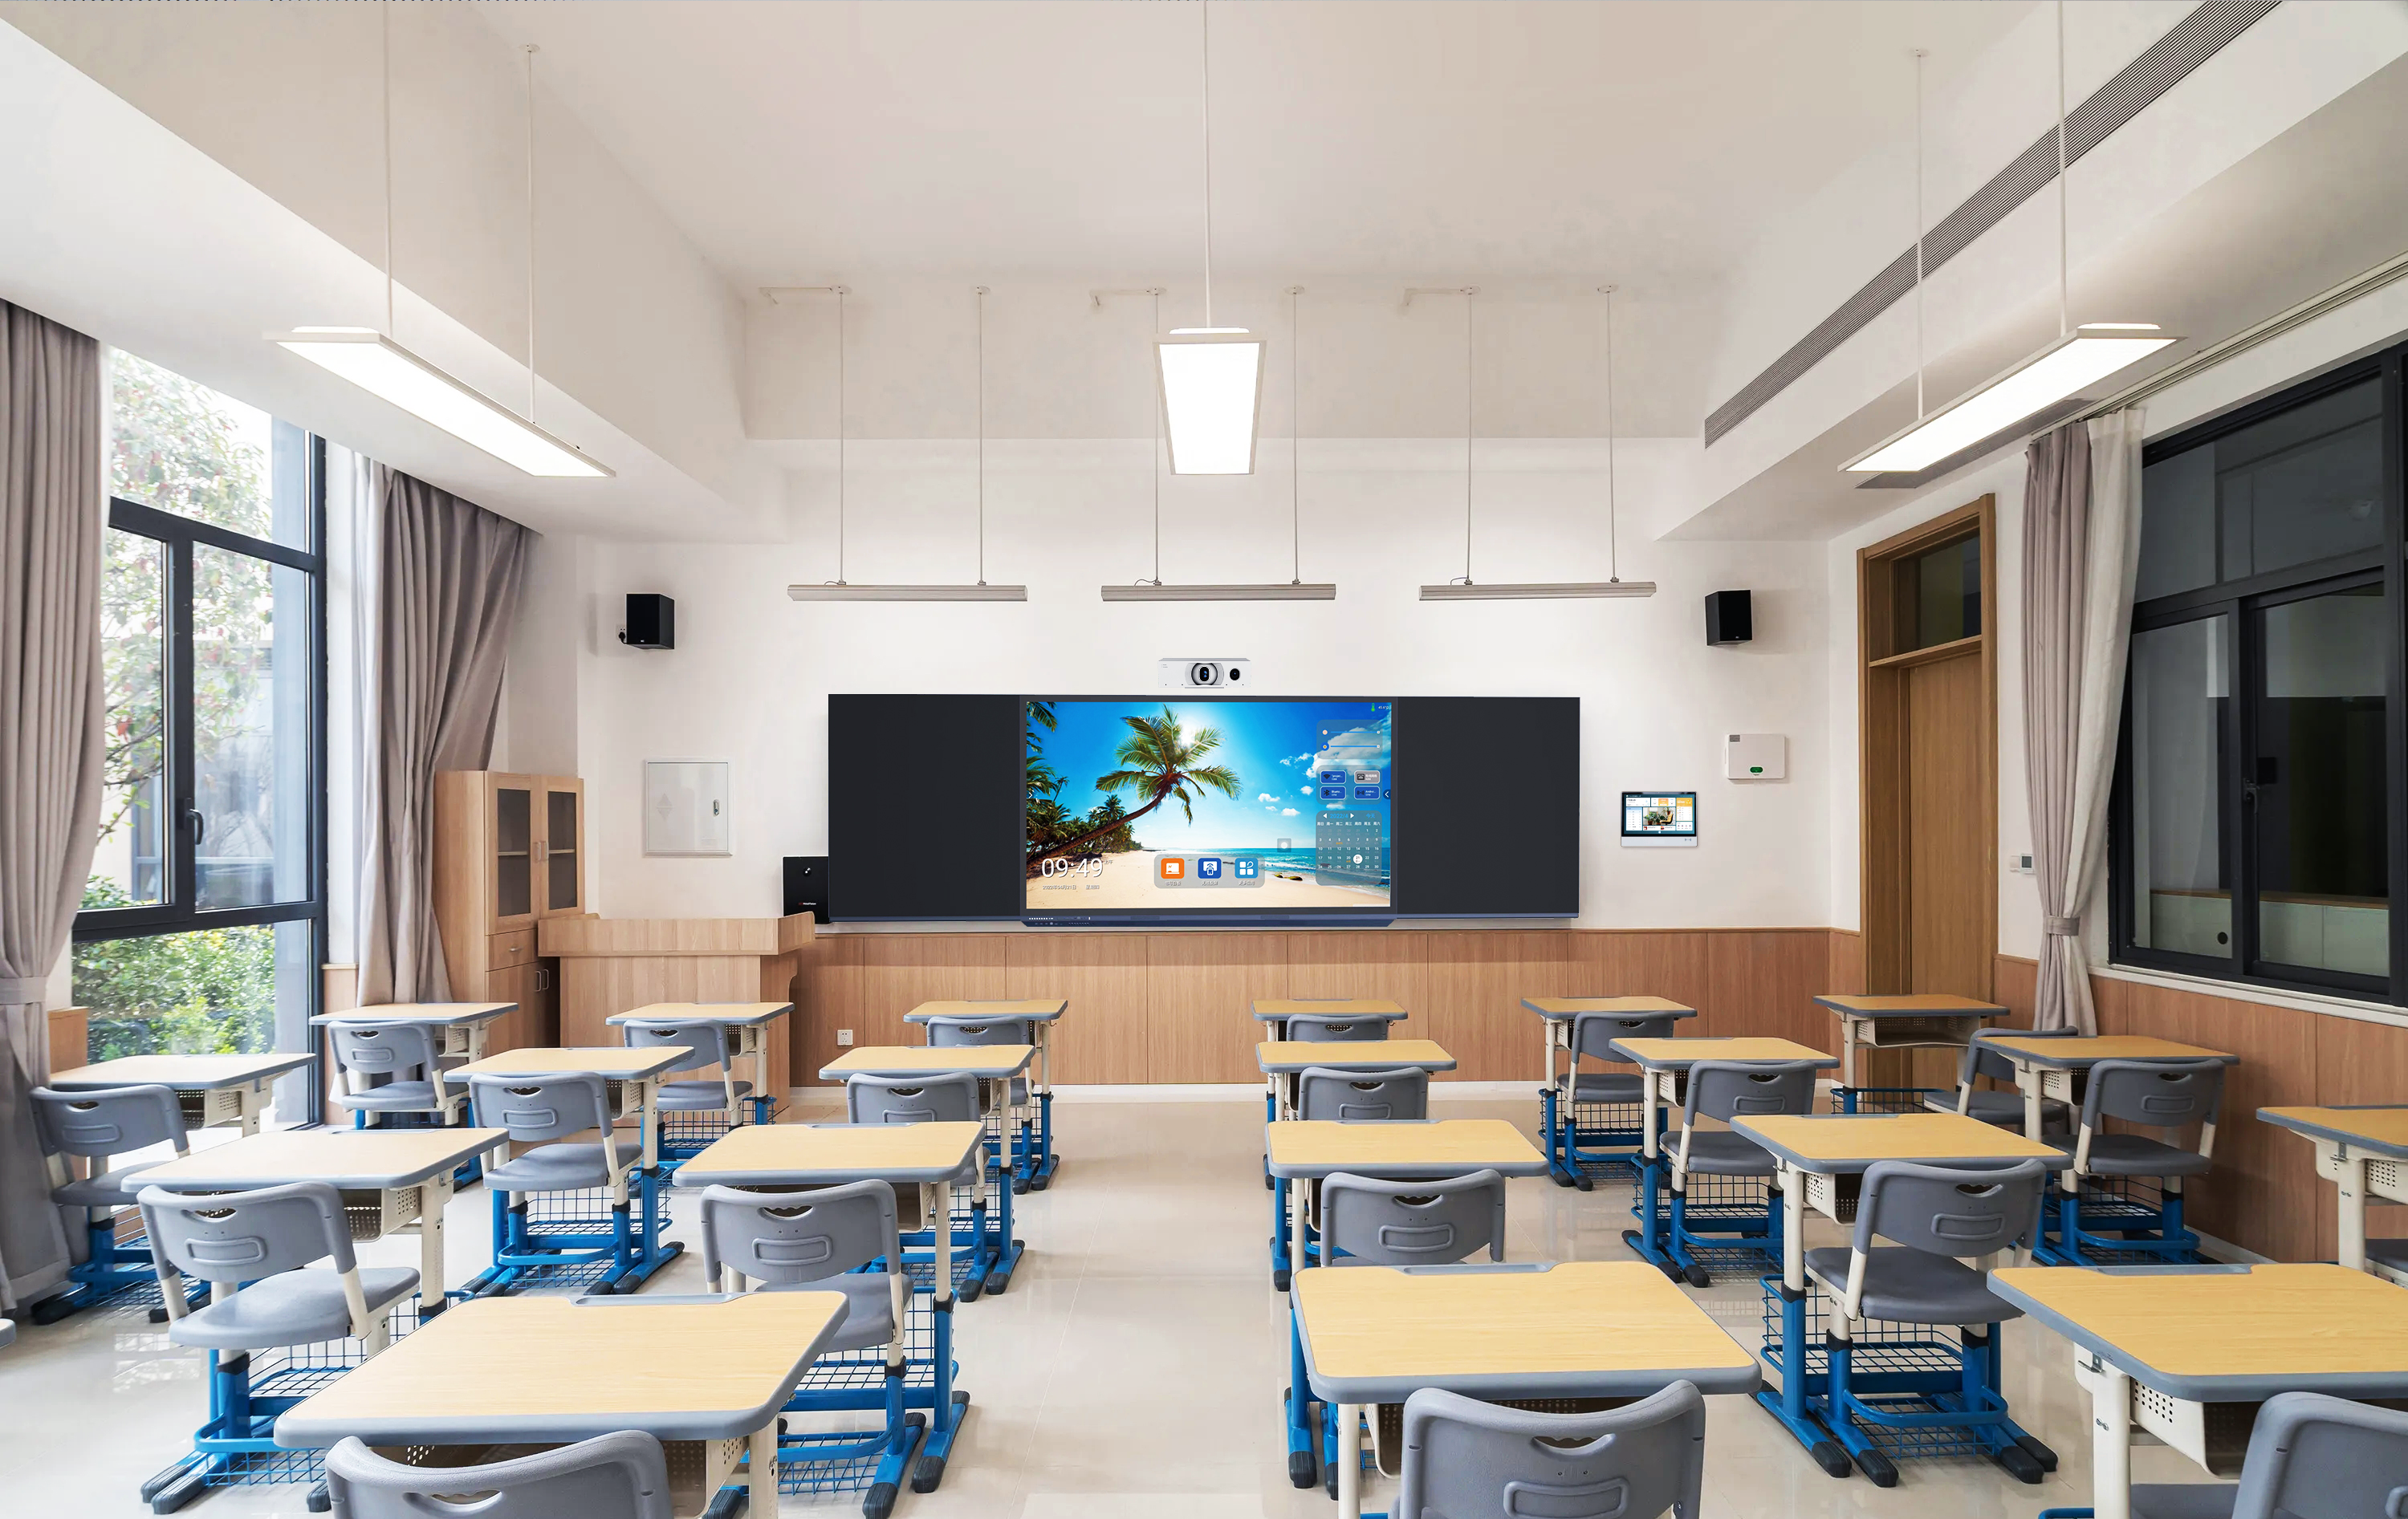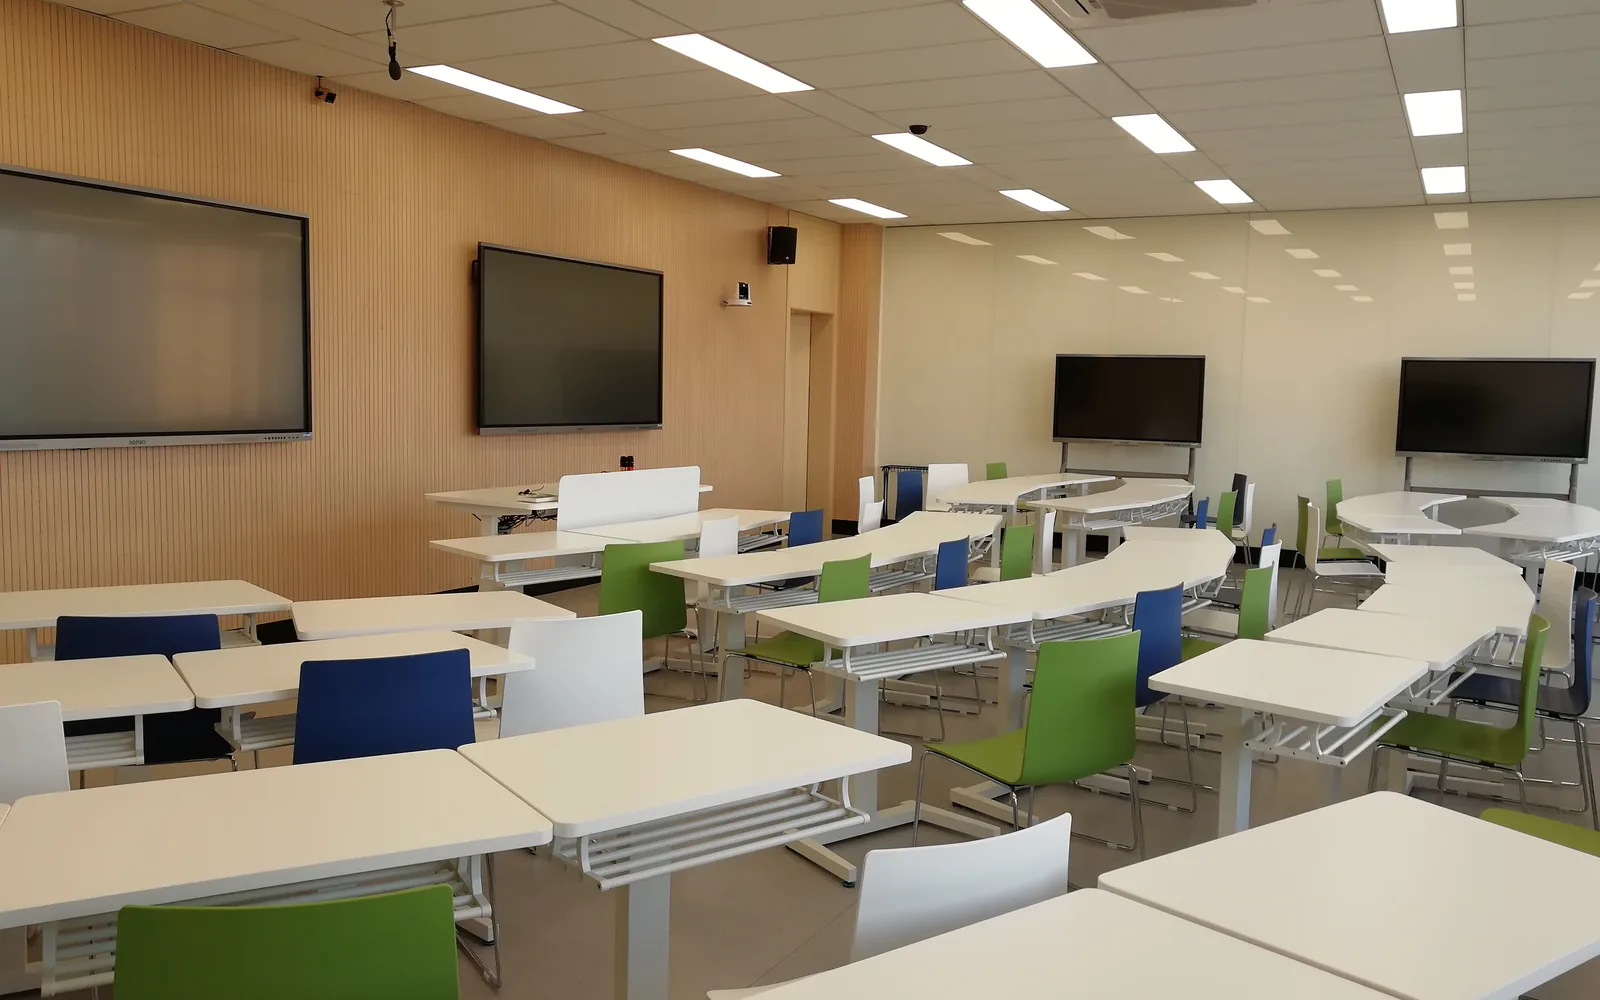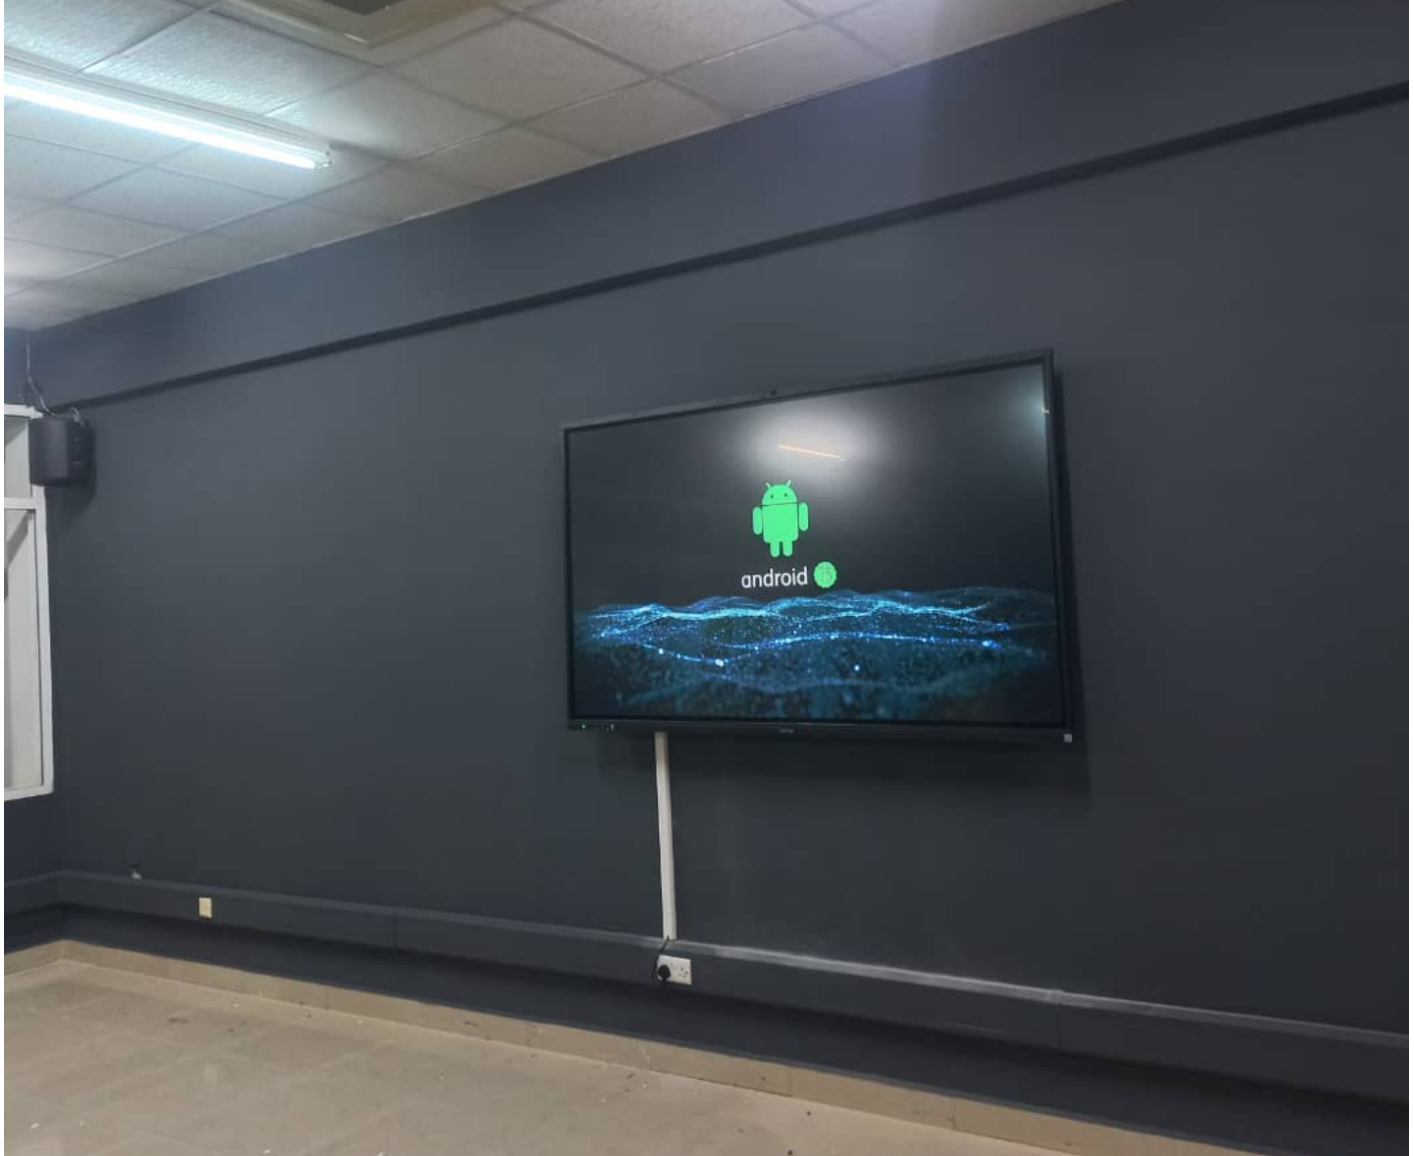
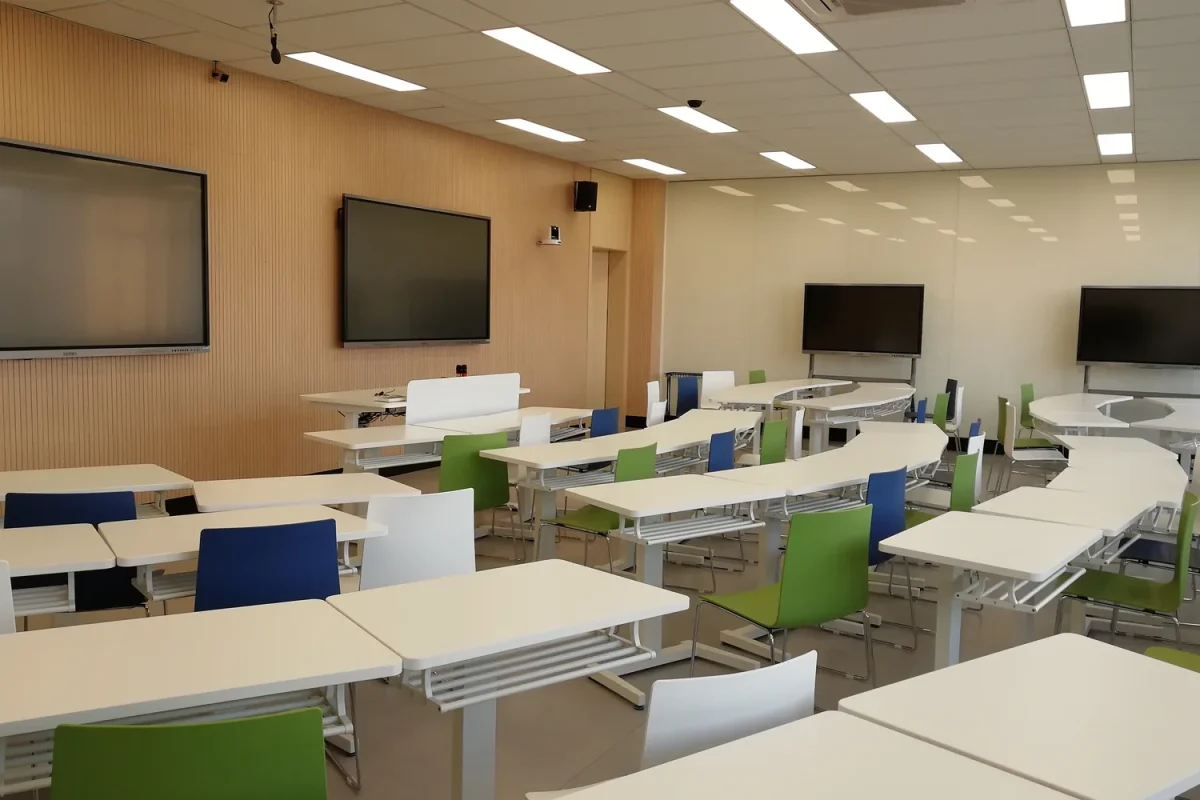
Quick answerA smart classroom equipment list is best built in levels, not as one long shopping list. Level 1 (Essential) is an interactive flat panel, smart podium, wireless microphone and active speakers. Level 2 (Standard) adds a PTZ camera, document camera, digital signage and device management. Level 3 (Advanced) adds a Windows OPS module, student tablets, a charging cart and collaboration tables. The items integrators most often forget are not the screen — they are the active speaker, the PoE switch, and the UPS.
“What equipment does a smart classroom need?” is the wrong question. The right one, if you are a system integrator scoping a project, is: at this budget, what belongs in the room, what can be dropped, and what will break the install if I drop it? That is what this equipment list answers. Each level below is a complete, working room — not a feature wishlist — so you can scope a bill of materials against your client’s budget and defend every line of it. It maps directly to the three deployment levels in our Smart Classroom Solution.
Level 1 — Essential: one screen, plug in, teach
This is the entry level: replace the blackboard, get the teacher running, keep the bill of materials tight. It suits primary and rural schools, and first-time AV projects where the client needs to see the room work before funding anything bigger.
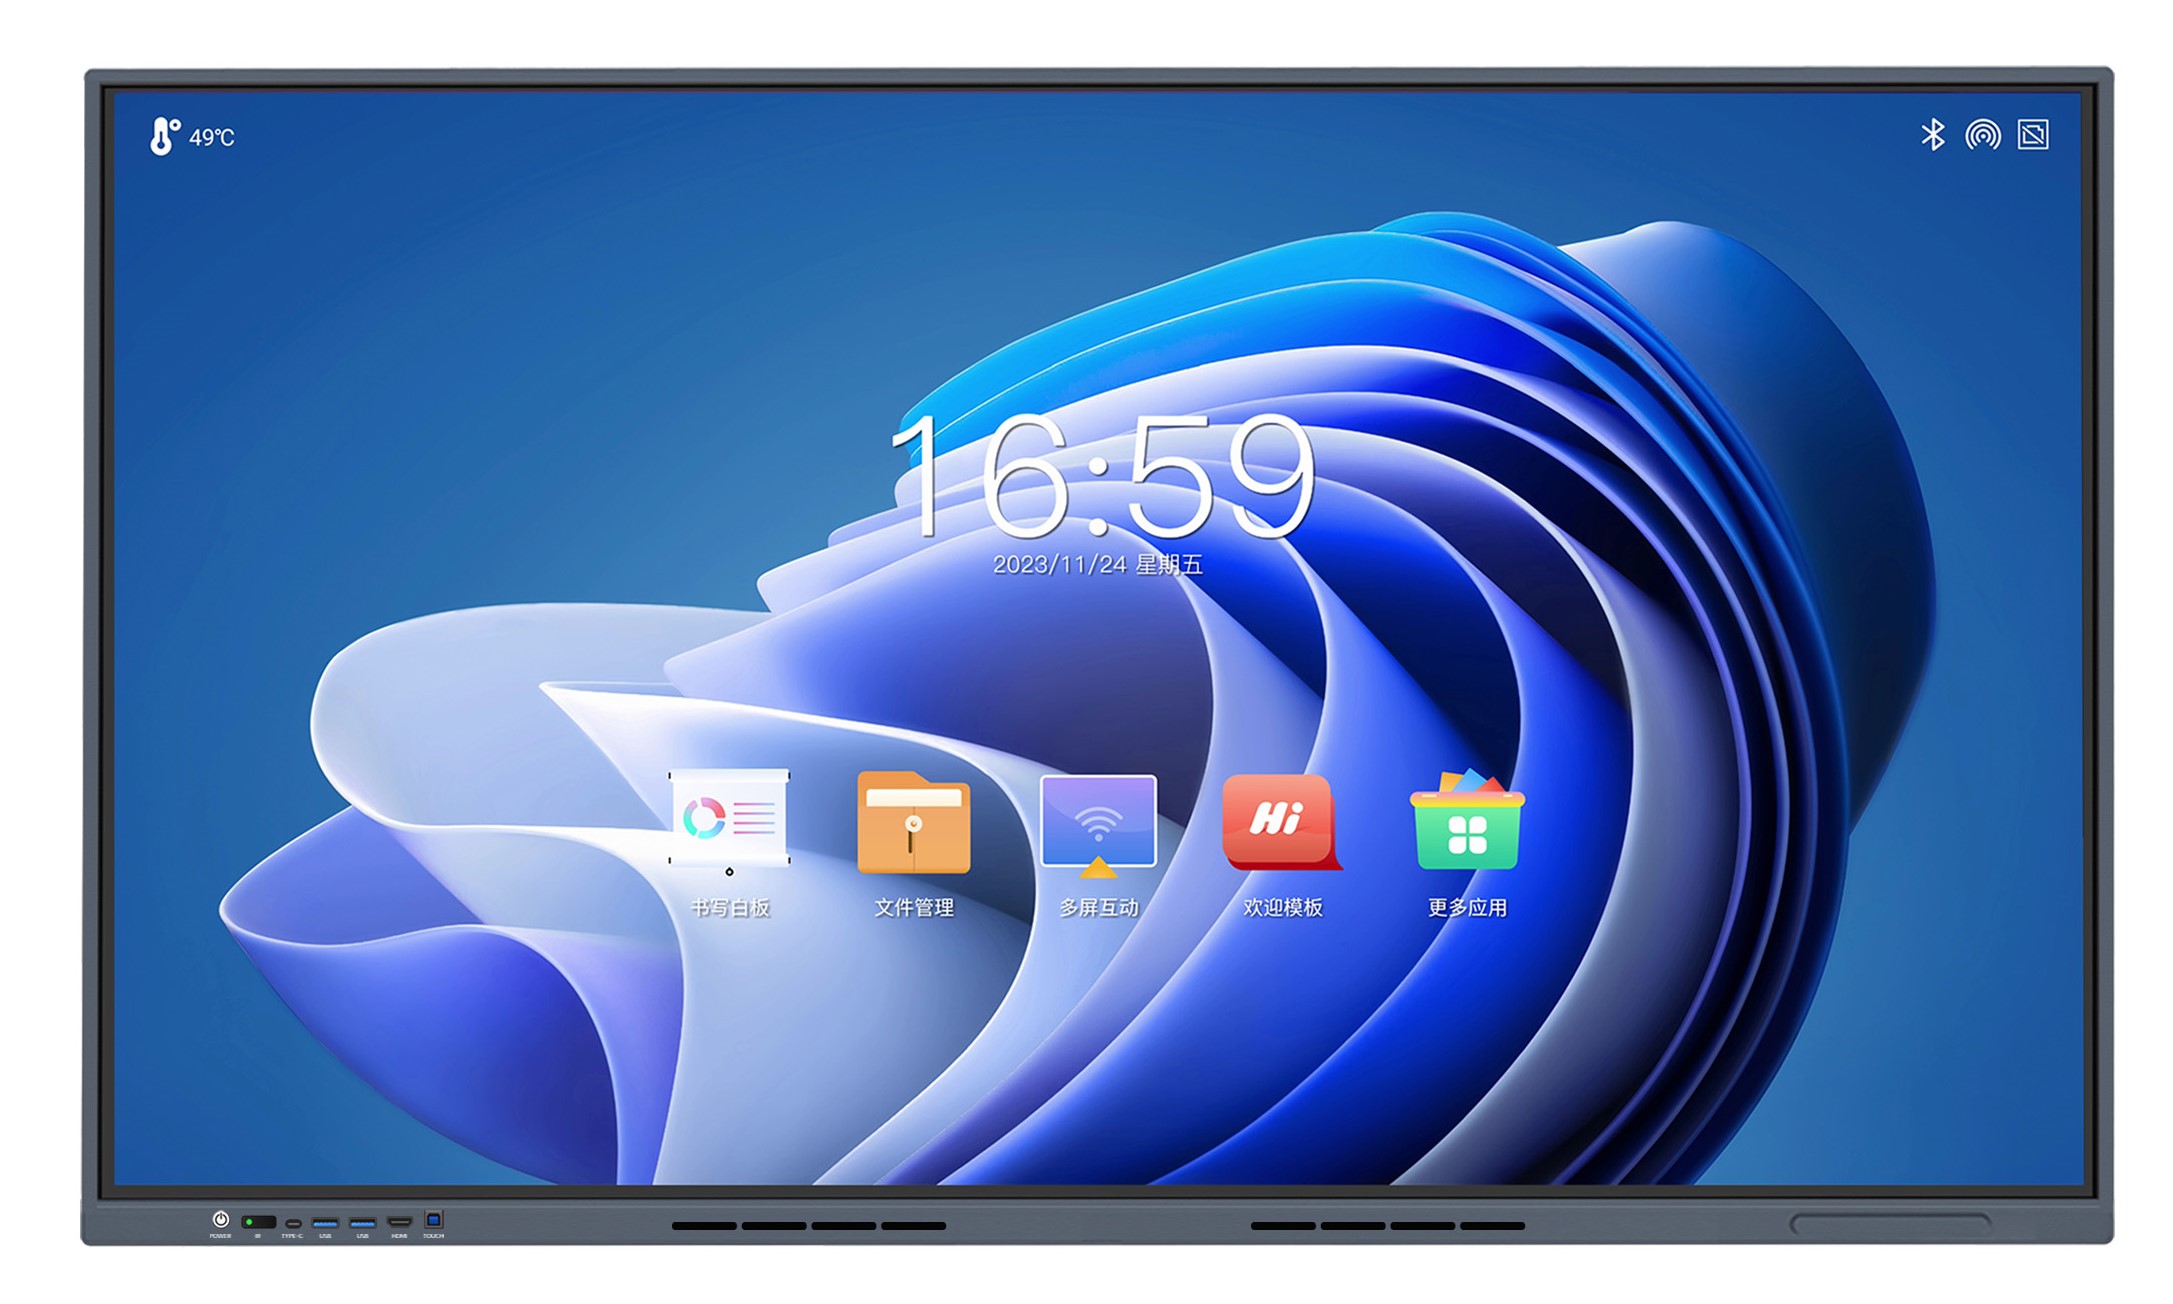
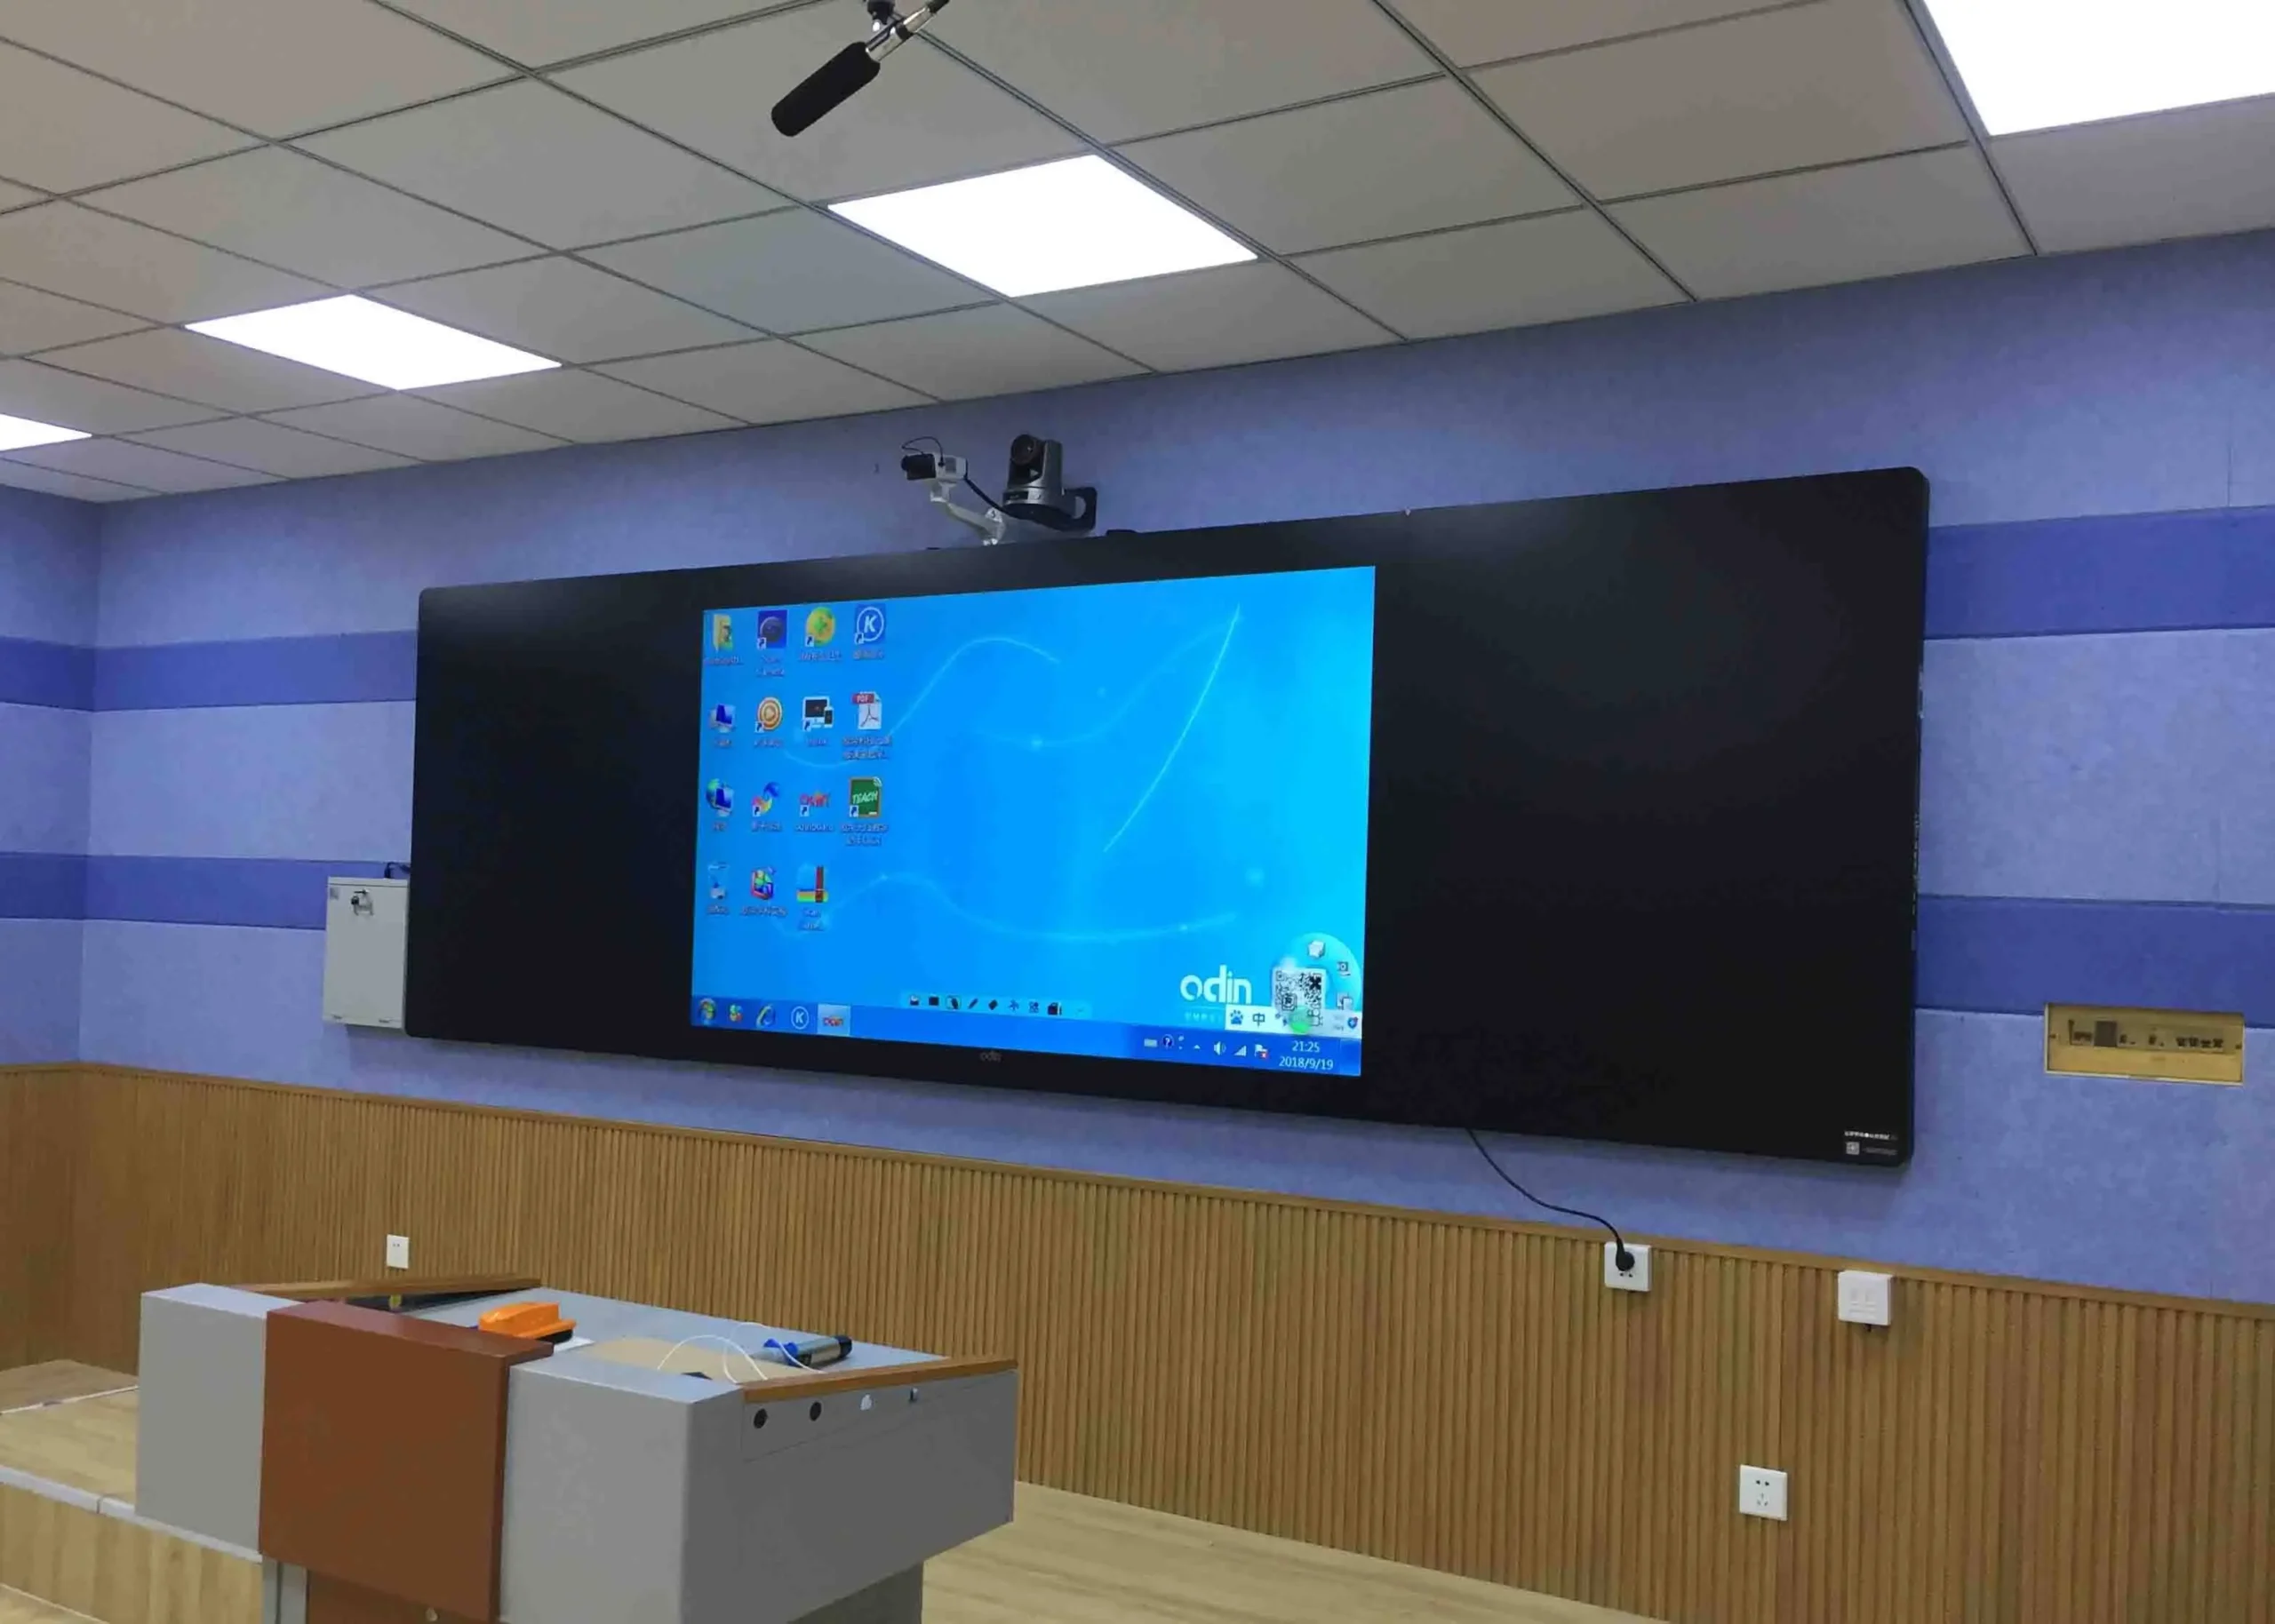
- Interactive flat panel (65″–75″). The hub of the room. Size it to the farthest viewer, not the floor area.
- Smart podium. The teacher’s control centre — where the lesson is actually driven from.
- UHF wireless microphone. Voice lift so the back row hears the teacher without shouting.
- Active speakers. Not optional — see the audio rule below.
- Wi-Fi access point and UPS backup power — optional on paper, mandatory in practice on an unstable grid.
Level 2 — Standard: the room that sells a system, not a screen
This is the level where you stop quoting a display and start quoting a classroom — and it is where the margin lives. It suits middle and high schools, government training centres, and any client who wants recording or hybrid teaching. On top of everything in Level 1:
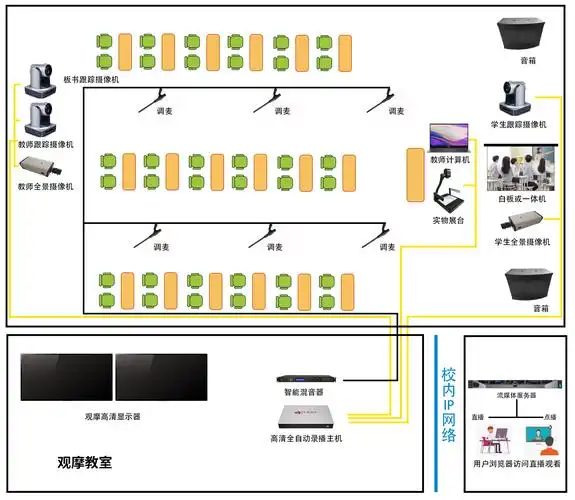
- PTZ camera + recording. Captures the teacher for hybrid classes and lesson recording.
- Document camera. For showing physical worksheets, textbooks and lab materials on the panel — still one of the most-used devices in a real classroom.
- Digital door signage. Timetable and room status outside the door; cheap, visible, and a favourite line item with government buyers.
- MDM + launcher. Central device management, OTA updates and a consistent classroom UI. This is what turns twenty rooms from twenty support tickets into one dashboard.
- Conference speakerphone (optional) — required once the room runs live hybrid classes, for the echo-cancellation reason explained below.
Level 3 — Advanced: 1:1 devices and a managed campus
Universities, ministry rollouts and multi-room campuses. On top of Level 2:
- Larger panel (86″–98″) and a dual-screen podium.
- Windows OPS module. Slots into the panel so the room runs Windows alongside Android — usually a hard tender requirement at university level.
- Student tablets + charging cart. This is what makes it 1:1 learning rather than a presentation room.
- Collaboration tables for group work.
- AI tracking camera — or none at all, if the panel already has one (see the 110″ note below).
The full equipment list, level by level
| Component | Role in the room | L1 | L2 | L3 |
|---|---|---|---|---|
| Interactive flat panel | Central hub of the classroom | ✓ | ✓ | ✓ |
| Smart podium | Teacher control centre | ✓ | ✓ | ✓ |
| Wireless microphone | Teacher voice lift | ✓ | ✓ | ✓ |
| Active speakers | Required — panel audio is line-level | ✓ | ✓ | ✓ |
| PTZ camera | Recording, streaming, hybrid classes | — | ✓ | ✓ |
| Document camera | Show physical materials on screen | — | ✓ | ✓ |
| Conference speakerphone | Echo cancellation for hybrid calls | — | optional | ✓ |
| OPS computing module | Runs Windows inside the panel | optional | optional | ✓ |
| Digital door signage | Timetable and room status | — | ✓ | ✓ |
| Student tablets + charging cart | 1:1 learning | — | optional | ✓ |
| Wi-Fi access point | PoE-powered — needs a PoE switch | optional | ✓ | ✓ |
| UPS backup power | Protects panel and podium on weak grids | optional | optional | ✓ |
| MDM + launcher | Central management, OTA, classroom UI | — | ✓ | ✓ |
One line that is not in the table on purpose: the PoE network switch. It is supplied by you, the integrator — it sits outside the equipment manufacturer’s bill of materials, and it is the single most common reason a commissioning day goes wrong.
Five integration rules that decide whether the room works
These are the details that separate an equipment list that installs cleanly from one that generates change orders:
- Panel audio is line-level only. It must feed an active speaker or an amplifier — never a passive speaker directly. If the BOM has no active speaker, the room is under-powered on day one, no matter how good the panel is.
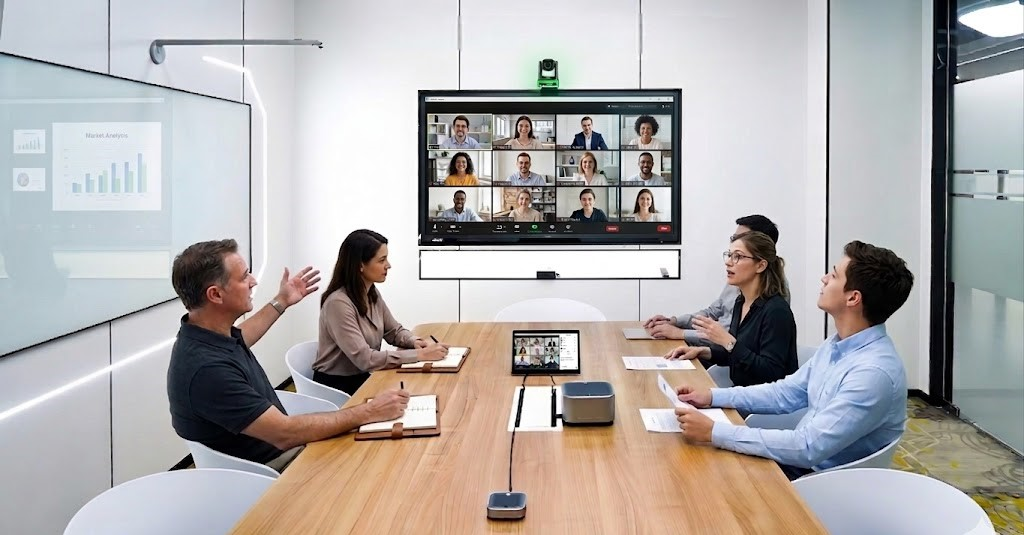
- A hybrid class needs two separate audio paths. The wireless mic and active speakers handle voice lift in the room; the far-end call audio runs through the conference speakerphone with built-in echo cancellation. Mix those two paths into one and remote students hear an echo — the most common complaint on hybrid rooms.
- The PTZ camera outputs USB and IP at the same time. Use USB as the source for Zoom or Teams on the panel, and the IP/RTSP stream to feed the recording system. Designing it that way removes source-switching conflicts entirely.
- A 110″ panel with a built-in AI camera and mic array can replace the PTZ camera. Check the panel spec before you quote a camera you don’t need — it’s a line item you can hand back to the client as a saving.
- A single classroom runs fine on one flat PoE network. VLAN and QoS planning only becomes necessary at multi-room or campus scale — don’t over-engineer one room, and don’t under-engineer twenty.
How to pick the level — and grow it later
Match the level to the client’s budget and to what the room will actually be asked to do. Most projects that arrive as “we need a screen” belong at Level 1; most that mention recording, hybrid, or “managing all the rooms centrally” are already Level 2 whether the client knows it or not.
Scope it in blocks and the account grows. A room delivered at Level 1 exposes its own gaps once teachers use it: no way to show a worksheet, no recording, no central management. That is when the same client comes back for the document camera, the OPS module, or the MDM — and you are the integrator already holding the relationship. Where the site has poor connectivity, the offline-first variant swaps the cloud for a local content server and tablets; see the Offline Education Solution. When you’re ready to turn the list into a defensible bid, the next step is writing it up properly — see how to write smart classroom tender specifications.
Frequently asked questions
What is the minimum equipment for a smart classroom?
An interactive flat panel, a smart podium, a wireless microphone and active speakers. That is a complete, working Level 1 room. On sites with an unstable grid, add a UPS — it is nominally optional, but it prevents the reboot complaints that follow you for the life of the project.
What do integrators most often leave off the equipment list?
Three things: the active speaker (because people assume the panel’s built-in speakers are enough), the PoE switch for the access point (because it usually falls outside the equipment supplier’s BOM), and the UPS. All three surface at commissioning, when they are far more expensive to fix.
Can a smart classroom be upgraded from Level 1 to Level 2 later?
Yes, and it should be scoped that way from the start. If the Level 1 room is specified in blocks — display, computing, audio, network, power — then a camera, document camera, OPS module or device management can be added later without re-tendering the room.
Key takeaways
- Build the equipment list in levels, not as a wishlist — each level should be a complete, working room.
- The forgotten lines are the active speaker, the PoE switch and the UPS — not the screen.
- Level 2 is where you stop selling a display and start selling a system, and where the margin is.
- Scope in blocks so the client can grow from Level 1 to Level 3 without re-tendering — and so the account stays yours.
Written by the Tralltech Technical Team · Last reviewed: July 2026
Related guides: Smart classroom tender specifications · Specification mistakes we see in real tenders · Classroom audio system design
Explore our solution: Smart Classroom Solution